tomarnidhi
Well-known member
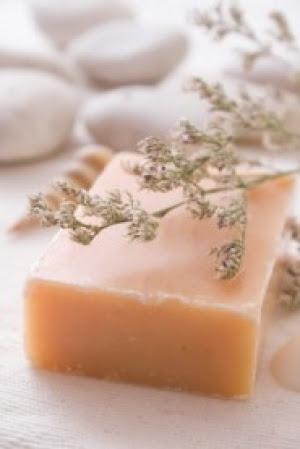
How to make a good organic handmade soap? Practice, practice and more practice. Making soap is like baking a cake, anyone can do it, but to discover the soap recipe that is perfect for your skin, there is a lot of trial and error involved.
Discover the satisfaction of creating your very first batch of handmade organic soaps, knowing that it is an expression of your creativity with the peace of mind that it is natural and organic free from harmful nasties like paraben, SLS, PEGs.
If you have some time to spare this weekend, here are the steps to guide you through your soap making journey:
1. Handmade Soap Making Supplies & Equipment
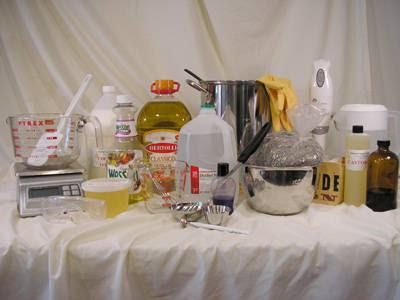
Most of the handmade soap making equipments should be readily available in your kitchen cupboards. Only if you consider making large commercial quantities will you need to invest in something more professional. For the 10 – 20 soaps you’ll be making when starting out, the normal boiling pot and mixing trays will be more than enough. So hop to the kitchen and get out the following:
Boiling pot
Molding trays
Mixing boil
Wooden Spoon
Electric Mixing Wand Wax Paper (required if using a wooden molding tray to prevent soap from sticking when hardened)
Rubber / cooking gloves
Scale (optional)
Thermometer (optional)
Distilled water and Lye
2. Handmade Soap Making Methods & Procedures
Before you decide the ingredients you’ll be using in your soap making adventure, you need to first decide method you’ll be using to create your very important soap base
There are basically 4 different handmade soap making methods.
The melt and pour method – this is the easiest of the 4 methods and recommended if you are just starting out because the raw soap base is created for you and all that is required from you is to melt the soap base (normally glycerin, goats milk or castile) into a liquid form and then add the ingredients you want (minerals, vitamins, essential oils) to spice it up. You can purchase a ready made melt and pour soap making kit from hobby or craft shops or on the internet.
The rebatch method – Purchase pre-made soap bars of your choice and grind up the soap bars, add milk, water or other additives then reblend them.
The cold process method. – A more time consuming procedure where you produce the soap base from scratch using water, lye and oils. You cannot have soap without lye
The hot process method – A unique variation of the cold process This time, you actually cook the soap as you combine lye and oils. More difficult and probably not suitable if you are a beginner.
Once your base is created, it is time for the fun part……
3. The Fun Part – Adding Whatever Ingredients You Want
There is no right or wrong ingredient when making soap. Throw a cow in there, it is your soap and you put in whatever ingredient you choose (although I don’t recommend throwing in the cow as it is considered animal torture and your soap may not turn out very well). But remember this is your handmade soap, so be creative and experiment. If you are more comfortable with following a recipe, there are numerous books and internet resources with handmade soap recipes. Just like cooking, there are countless variations and you are in control.
In selecting your handmade soap ingredients, it is important that you select fresh quality ingredients for the most effective results. You can only make fantastic soaps perfect for your skin if you choose quality soap making ingredients. To get you started, here are some top quality ingredients used in soap making
Essential Oils
These oils provides scents and the healing properties that gives your skin what it desire. When selecting the oils look for ones that are organic and cold pressed. Here are a few oils you may like to try
* Apricot kernel oil – is rich in minerals and vitamins and has healing qualities for dry, inflamed, sensitive skins.
* Castor oil – Castor oil is used in cosmetic applications for its ability to “draw” impurities and clear the skin. In soapmaking, it’s highly appreciated for the rich, fluffy, luxurious lather it imparts to handmade soaps.
* Macadamia oil – is wonderful for cooking the hot pressed cooking method and for any cosmetic/aromatherapy preparations. * Olive oil – one of the most popular oils used in soap making * Rice bran oil – Naturally rich in antioxidants, rice bran oil is particularly suitable for dry, sensitive, mature skins and for natural hair care applications.
* Sweet almond oil – A wonderful multi purpose oil
* Virgin coconut oil – A wonderful oil that just smells very delicious to eat
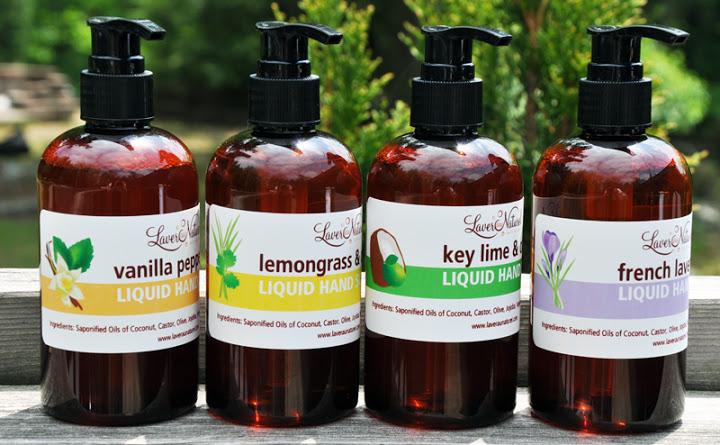
Fragrance and scent
Popular scents include willow bark, cinnamon, vanilla, apple, rose, peach, green tea, and so on.
Natural Ingredients and Additives.
These enhance your soap by giving it unique qualities. These range form exfoliants such as oatmeal, herbal extracts such as grapefruit seed extract for cleansing and cocoa butter or aloe vera for added moisturizing effect. Again when Looking for your natural ingredients, look for ones that organic and unrefined. Examples include:
* Golden Jojoba – similar to the skin’s own sebum, it has superior moisturising properties. Jojoba is a very stable oil, with very long shelf life.
* Mango butter – is rich and nourishing
* Shea nut butter – terrific healing properties
* Cocoa butter – very moisturising and provides a pleasant chocolate smell Colorants.
Colorant
If you want your soap to look aesthetically attractive, use a colorant. You can control the intensity, but it may take some experimentation to achieve the right color.
4. Bringing it All Together – Completing Your Handmade Soap Masterpiece
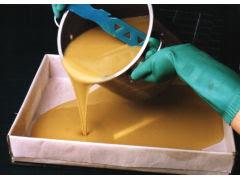
Like baking a cake, after you’ve created your mixture, you need to pour it into the mold of your choice to create your soap shape. What is most interesting about soap molds is that they come in almost all shapes and sizes. You may choose the conventional regular block or you may like to get a bit more creative and artistic and go for more fancy shapes like stars, animals, faces…. Etc.
For a cheap and quick option, you simply get the cake mold trays from you local supermarket and use it as you soap making mold trays. For a more fancy alternative, you can purchase specially shaped mold trays from a hobby or craft shops. If you have too much time to spare, you can create your own mold trays and be as creative as you want.
There are many types of soap molds available. In terms of material, there are wood soap molds, silicon soap molds, and plastic soap molds, the choice of which will depend on a few factors. If you’re after fine detail with your soaps, then the best option is the silicon soap mold trays because it is non stick, flexible, resistant to high temperature and they can provide great detail for your work. It’s more expensive but they make a great investment compared to the plastic mold which cannot withstand high heat and the wooden one which sticks. You need to put wax paper and a coat on top for wooden trays.
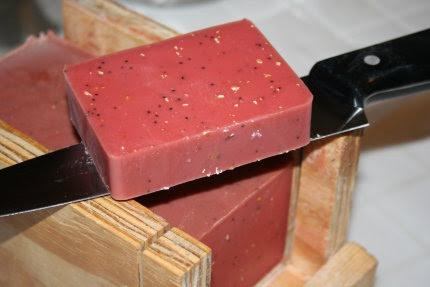
Once you’ve selected your mold, pour in the soap mixture and wait for the to cool before putting it into the freezer or fridge. Wait for half a day and ……..congratulations, you created your very own handmade soap.
 lolzzz ki yaad karva ta