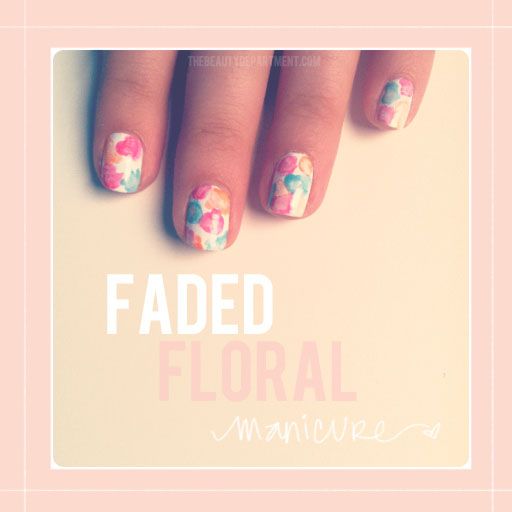
Who doesn’t love a soft, faded floral pattern? You can basically do this mani in any color combo you want– we chose a spring-y palette. Here’s how you get the look:
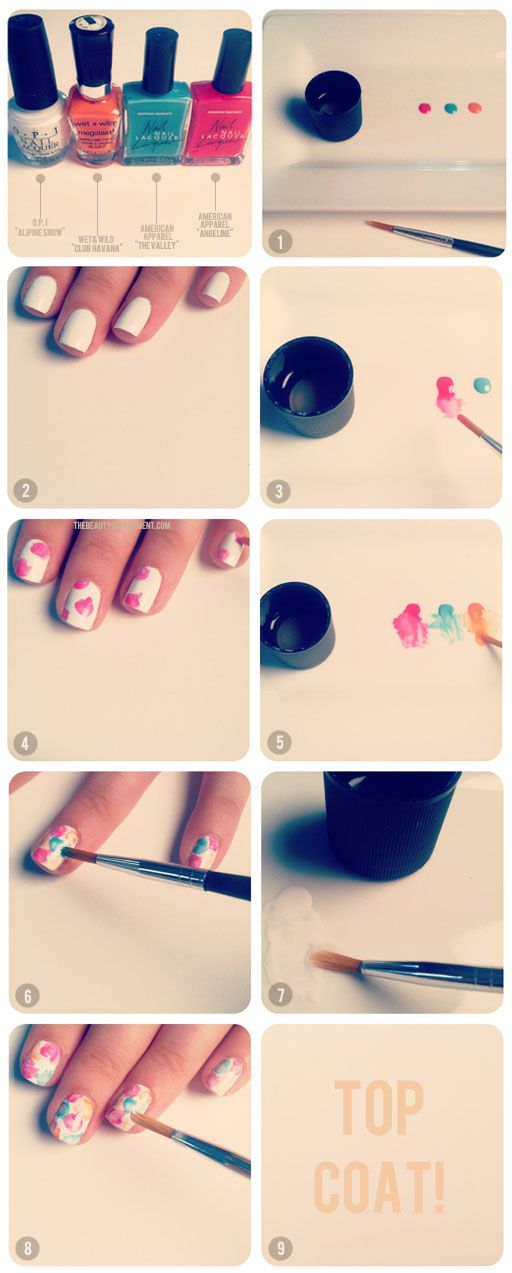
YOU WILL NEED: Nail polish remover, 4 small paint brushes, a plate or something to put your polish drops on, a white nail polish + 3 of your favorite polish colors that look good together.
- Place a dot of each color on your plate. Also fill your nail polish remover cap with nail polish remover. The colors above are American Apparel “Angeline” and “The Valley + Wet & Wild “Club Havana”.
- Paint the base of your nails with something light and wait until they dry completely. I used Alpine Snow by O.P.I.
- Dip one of your small paint brushes in the nail polish remover and use it to dilute the polish drops. You want to add a few drops of polish remover in the nail polish until it starts to look thin and “stain-like”.
- Then using a dabbing motion, create abstract flower shapes on each nail. Leave room for the other colors too.
- Use your other brushes to dilute the other colors the same way. Don’t mix your brushes in different colors!
- Apply the other colors. Create as many abstract flowers as you want. Don’t stress about the shape. Some of the messy flowers ended up being my favorite!
- Now take a drop of the white paint from your base coat and dilute that using nail polish remover, just like you did with the other polishes.
- Apply a VERY thin dot of white on the center of each flower. If you diluted it enough, it will slowly spread over the flower when you put the drop down. If not, thin your white polish out a little more. When you put the white drop on top, it gives the flowers a more faded look.
- Wait for everything to dry and give it a good quick dry top coat.