chief
Prime VIP
Create Custom Windows 7 Jumplists for Apps that Don’t Have One
Would you like more of your favorite programs to include jumplists for your favorite tasks? Here’s how you can customize your Windows 7 jumplists quickly with Jumplist Extender.
Windows 7’s redesigned taskbar makes it easier than ever to organize and run your favorite programs without having to constantly search for them in the Start menu. When you right-click apps on your Windows 7 taskbar, you’ll see a new jumplist that lets you open recent documents or start a common task in the app.

Unfortunately, many apps don’t include full-featured jumplists, so you can’t really do anything interesting without running the program directly.

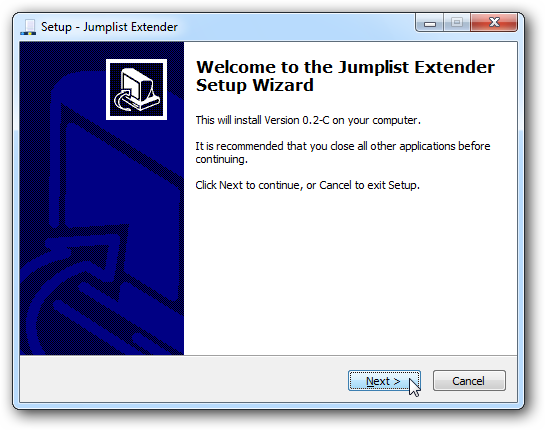
If you’d like to add more features to your favorite programs’ jumplists, you can easily do it with the Jumplist Extender. This simple and free program lets you extend your programs with custom jumplists to make them work exactly like you want. To get started, download Jumplist Extender (link below), and install as normal.

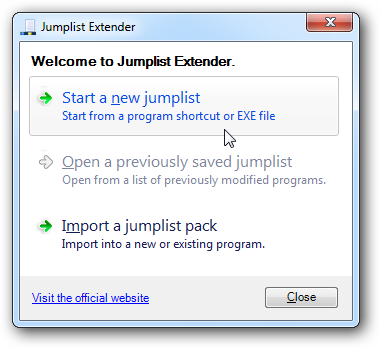
Once it’s installed, you can run it and get started tweaking jumplists. Select Start a new jumplist to get started.

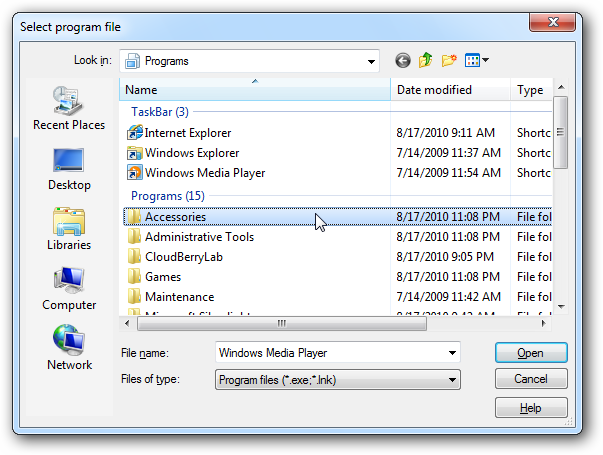
Now select an application in the Explorer window that opens to tweak that app’s jumplist.

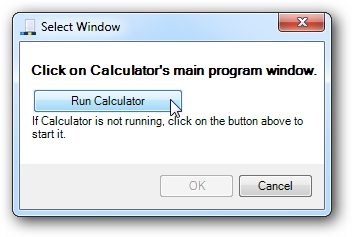
You’ll next need to select the program’s window to tweak it’s jumplist. If it’s not already running, click the Run button to start it. Once it’s started, select the program and Jumplist Extender will automatically recognize it.

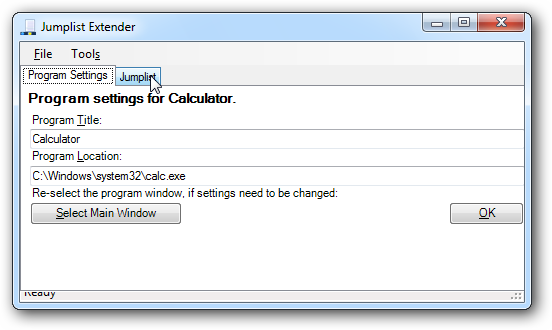
It’ll then open the Jumplist Extender window so you can start tweaking the jumplist. Make sure the program settings look correct, then select the Jumplist tab.

Now you’re ready to add new entries to the jumplist. On the right side of the window, enter a name for the action, select an icon, then enter the action you want that link to perform.

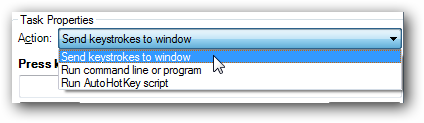
Under Task Properties, you can select to send a keyboard shortcut to the window, run a command prompt task, or start an AutoHotKey script.

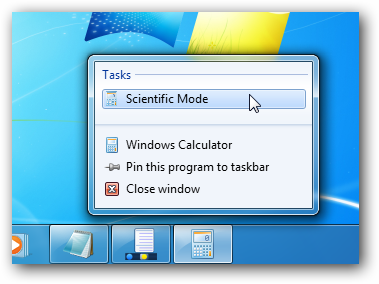
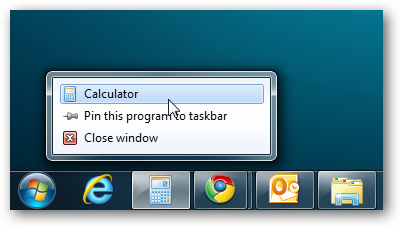
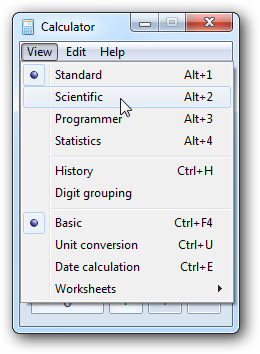
Keyboard shortcuts are one of the easiest things to add to the jumplist. In this example, we’re tweaking the Calculator jumplist. If we’d like to be able to start Calculator in Scientific mode, then we’ll need to add the keyboard shortcut Alt+2 to our jumplist. You can often find keyboard shortcuts for standard tasks in the File menu of your favorite programs.

Back in the Jumplist Extender, enter your keyboard shortcut in the box just like you’d enter it in a program.

Once you’re finished adding a task, you can add an extra task or separator from the Plus button on the left.

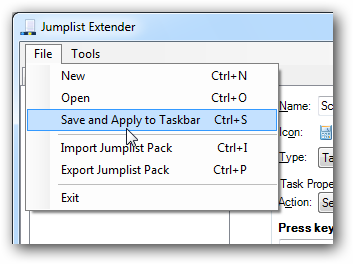
When you’re done tweaking the jumplist and want to try out your new settings, click File then select Save and Apply to Taskbar.

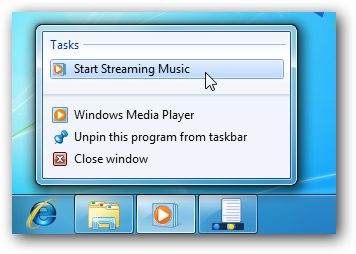
Your taskbar icons may flicker or refresh momentarily, but after a few seconds you’ll be able to see your new jumplist with the tasks you added.

Would you like more of your favorite programs to include jumplists for your favorite tasks? Here’s how you can customize your Windows 7 jumplists quickly with Jumplist Extender.
Windows 7’s redesigned taskbar makes it easier than ever to organize and run your favorite programs without having to constantly search for them in the Start menu. When you right-click apps on your Windows 7 taskbar, you’ll see a new jumplist that lets you open recent documents or start a common task in the app.

Unfortunately, many apps don’t include full-featured jumplists, so you can’t really do anything interesting without running the program directly.
If you’d like to add more features to your favorite programs’ jumplists, you can easily do it with the Jumplist Extender. This simple and free program lets you extend your programs with custom jumplists to make them work exactly like you want. To get started, download Jumplist Extender (link below), and install as normal.
Once it’s installed, you can run it and get started tweaking jumplists. Select Start a new jumplist to get started.
Now select an application in the Explorer window that opens to tweak that app’s jumplist.
You’ll next need to select the program’s window to tweak it’s jumplist. If it’s not already running, click the Run button to start it. Once it’s started, select the program and Jumplist Extender will automatically recognize it.
It’ll then open the Jumplist Extender window so you can start tweaking the jumplist. Make sure the program settings look correct, then select the Jumplist tab.
Now you’re ready to add new entries to the jumplist. On the right side of the window, enter a name for the action, select an icon, then enter the action you want that link to perform.
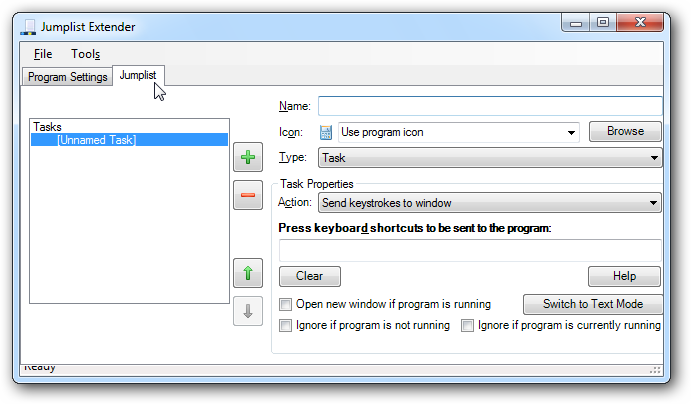
Under Task Properties, you can select to send a keyboard shortcut to the window, run a command prompt task, or start an AutoHotKey script.
Keyboard shortcuts are one of the easiest things to add to the jumplist. In this example, we’re tweaking the Calculator jumplist. If we’d like to be able to start Calculator in Scientific mode, then we’ll need to add the keyboard shortcut Alt+2 to our jumplist. You can often find keyboard shortcuts for standard tasks in the File menu of your favorite programs.
Back in the Jumplist Extender, enter your keyboard shortcut in the box just like you’d enter it in a program.

Once you’re finished adding a task, you can add an extra task or separator from the Plus button on the left.

When you’re done tweaking the jumplist and want to try out your new settings, click File then select Save and Apply to Taskbar.
Your taskbar icons may flicker or refresh momentarily, but after a few seconds you’ll be able to see your new jumplist with the tasks you added.