TaRaN.rbk
ImmorTaL KhalsA
Details:
In this tutorial you will learn how to transform your photo into drawing portrait. You will create amazing effect from usual photo.
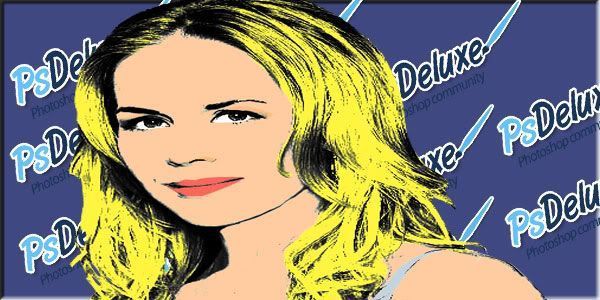
Here I have this picture
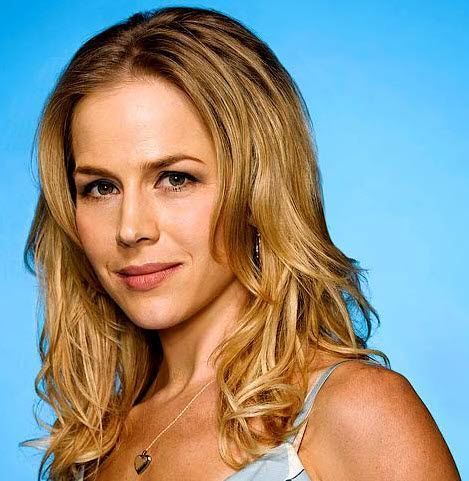
1.Step.And I will start by separating the THE LADY from the back ground, it`s easy to do , use the pen tool to do it.
And make sure you are using the shown options

and start to make a selection around the lady
Here I have made the selection
2.Step. As you notice that there's some errors with the hair, so we're going to exclude the background from the hair, to do that select this option for the pen tool

and exclude the background
3. Step. Now go to Paths window, right-click over the path you have made and select "make selection"
Make sure that you are making New selection
Here you made a selection around the lady
So inverse the selection to select the background, and then delete
4.Step. Now convert the picture to black and white by pressing Ctrl+Shift+U
then open the Levels window
set the shown values or change as it fits your picture
In this tutorial you will learn how to transform your photo into drawing portrait. You will create amazing effect from usual photo.
Here I have this picture
1.Step.And I will start by separating the THE LADY from the back ground, it`s easy to do , use the pen tool to do it.
And make sure you are using the shown options
and start to make a selection around the lady
Here I have made the selection
2.Step. As you notice that there's some errors with the hair, so we're going to exclude the background from the hair, to do that select this option for the pen tool
and exclude the background
3. Step. Now go to Paths window, right-click over the path you have made and select "make selection"
Make sure that you are making New selection
Here you made a selection around the lady
So inverse the selection to select the background, and then delete
4.Step. Now convert the picture to black and white by pressing Ctrl+Shift+U
then open the Levels window
set the shown values or change as it fits your picture